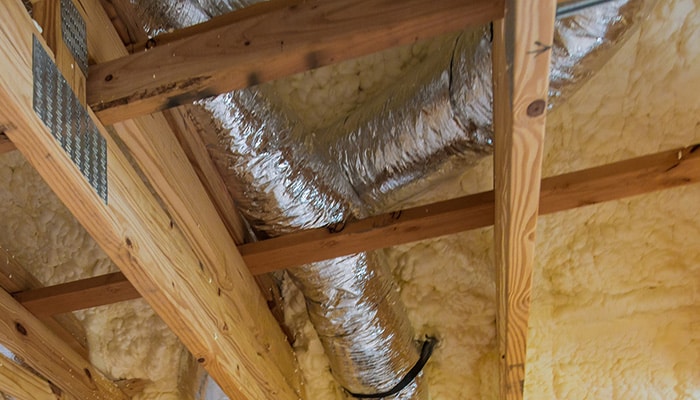
A Simple Guide to DIY Fresh Indoor Air
Keeping your air ducts clean is one of the best ways to maintain good indoor air quality and keep your HVAC system running smoothly. If you’ve noticed more dust around your home or your allergies are acting up, it might be time to give your air ducts a good cleaning. Don’t worry—it’s a straightforward process that you can tackle with the right tools and a bit of time. Here’s an easy-to-follow, step-by-step guide to help you get started!
Tools and Materials You’ll Need
Before you begin, gather the following items:
- Screwdriver
- Heavy-duty vacuum with a HEPA filter
- Brush with stiff bristles
- Microfiber cloths
- Furnace filter
- Protective gloves and mask
Step-by-Step Process
1. Preparation
First things first, make sure to turn off the power to your HVAC system. Safety comes first, right? Next, grab your screwdriver and remove the vent covers and return air grill plates. These can get pretty grimy, so give them a good wash with some soap and water.
2. Vacuum the Ducts
Now it’s time to bring out the heavy-duty vacuum. If you have a rotating brush attachment, even better! Insert the hose into the duct as far as it can go, and let the vacuum do its thing. Be sure to vacuum around the vent openings, too, to catch any dust that’s hanging out there.
3. Brush the Ducts
Vacuuming might not catch everything, so grab your brush and give the duct walls a good scrub. Focus on those hard-to-reach areas like corners and bends where dust loves to settle.
4. Clean the Furnace Blower Compartment
Next, remove the panels on the front of your furnace to access the blower compartment. This area can collect a lot of dust, which can get circulated back into your ducts. Use your vacuum and brush to clean it out, but be careful around the fan and motor.
5. Change the Furnace Filter
Now, let’s swap out the old furnace filter for a new one. A fresh filter will help trap dust and allergens, making the air in your home cleaner and your HVAC system more efficient.
6. Wipe Down the Ducts
For a final touch, use a damp microfiber cloth to wipe down the inside of the ducts. This helps pick up any dust left behind and leaves your ducts nice and clean.
7. Reassemble and Test
Once everything’s clean, reattach the vent covers and return air grill plates. Turn the power back on and run your HVAC system to make sure everything’s working properly. You should notice a fresher, cleaner airflow right away!
Tips for Keeping Your Ducts Clean
Regular Maintenance: Aim to clean your air ducts every 2-3 years. This helps keep your HVAC system efficient and your indoor air quality high.
Professional Help: If your ducts haven’t been cleaned in a while or you notice issues like mold or severe dust buildup, it might be worth hiring a professional. They have the tools and expertise to give your ducts a deep clean.
Cleaning your air ducts might not be the most glamorous job, but it’s a great way to improve your home’s air quality and make your HVAC system more efficient. Plus, it’s one of those tasks that, once done, makes a noticeable difference in how your home feels.
Contact Us for Expert Air Duct Cleaning
If you’d rather leave it to the pros, All Out Cooling & Heating is here to help. We offer professional air duct cleaning services that will leave your home feeling fresh and your HVAC system running smoothly.
Take the first step towards cleaner air in your home. Call 480-578-1370 or contact us online to schedule your air duct cleaning with All Out Cooling & Heating today!


